Make your nails in a delightful ombre look that you can do on your own at home using a gel nail kit. With this kind of design, you can create magic by blending two or more colors with each other into a whole gradient thing—it has a rather soft and delicate appearance. In this guide, we are going to take you through the steps for preparing your nails and caring for the ombre technique.
Tools and Materials Needed

Before you start, make sure you have all the necessary tools and materials for a smooth ombre nail art experience:
- Gel Nail Polish (two or more colors of your choice)
- Base Coat
- Top Coat
- Nail File and Buffer
- Cuticle Pusher
- Nail Cleanser or Alcohol Wipes
- Ombre Sponge or Makeup Sponge
- UV/LED Nail Lamp for Curing
- Nail Art Brush (optional for detailing)
- Cuticle Oil
Preparing Your Nails
Collective Precautionary Measures for Effective Preparation Prior to the Crafting of Beautiful Ombre Gel Nails:
You must dislodge the old polish with a nail polish remover or acetone.
Shape your nails using a file and buff the surface. This creates a smooth base for gel application.
Gently push back your cuticles with a cuticle pusher, revealing the natural nail bed.
Dehydrate the nails with a nail cleanser or alcohol wipe to remove oils and dust.
Setting Up Your Workspace
A clean, well-lit, and organized workspace is essential:
- Choose a comfortable and well-lit spot where you can easily access your tools.
- Have a flat surface where you can lay out all your materials.
- Keep the gel lamp within reach for easy curing between layers.
- Make sure you have plenty of disposable wipes or paper towels to clean up any excess gel.
Applying the Base Coat
Base coat forms a base for a long-lasting gel manicure:
Apply each nail with a thin coat of base coat and apply a thorough surface cover. Cure nails under a UV/LED lamp for the recommended time (30-60 seconds, depending on your lamp). Ensure that no base coat touches cuticles or skin, as this would cause lifting.
Creating the Ombre Effect
The ombre effect consists of gracefully blurring the two colors into each other, resulting in it appearing like a gradient:
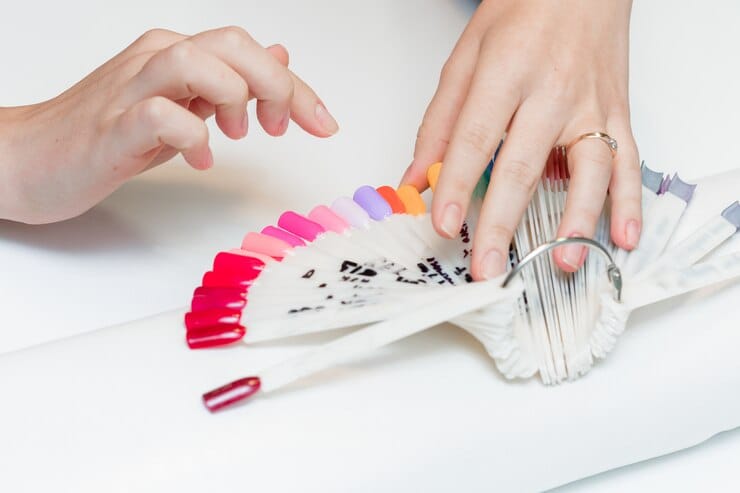
Select colors to create an ombre effect. It can be that lighter color typically goes in at the cuticle area while the darker shade reaches to the tip, but it is not that mandatory. Get creative!
Apply the first color to the bottom half of the nail, leaving the top part free for the second color.
Using an ombre sponge, dab the second color onto the top half of the nail. Press the sponge lightly against the nail, so it gradually begins to create that gradient effect.
Blend the colors together further with the sponge until it is coming to look like a great, really well-blended ombre.
Curing the Layers

Once you’ve applied the ombre, it’s time to cure the design:
- Cure each layer under the UV/LED lamp for 30-60 seconds, depending on your lamp’s power.
- Make sure the colors are completely set before proceeding to avoid smudging.
Applying the Top Coat
This last coating will seal your ombre design while providing a fabulous glossy finish.
Apply a thin coat of top coat on your nails, ensuring that the whole nail gets covered.
Cure the top coat for the recommended setting time.
Remove sticky residue, if any, from nails by using a nail cleanser or alcohol wipe.
Final Touches
Once your nails are cured and the top coat is applied, you can add some final touches:
- Add cuticle oil to moisturize your cuticles and enhance the finished look.
- Touch up any imperfections using a small nail art brush if needed.
- Ensure the nails are smooth and well-shaped.
Maintaining Your Ombre Nail Art
Proper maintenance is the secret to keeping the ombre nails looking fresh:
- 1. Moisturize your cuticles daily to avoid dryness.
- 2. Avoid overuse with household chores by using gloves.
- 3. Keep your nails hydrated and off of the harsh chemicals that could damage the polish.
Removing Gel Ombre Nails Safely
When you want to remove your gel ombre nails, here are the steps you need to follow to do that safely:
File the top layer of the gel polish to break the seal so that it will be easier to remove.
Soak a cotton ball in acetone and place it on your nails.
Wrap each finger with aluminum foil to hold the cotton ball in place.
Wait for 10-15 minutes for the gel to soften.
Gently scrape off the gel with a cuticle pusher or orangewood stick.
Troubleshooting Common Issues
If you encounter any problems while creating your gel ombre nails, here are some common issues and solutions:
- Uneven Gradient: Use the sponge to gently tap and blend the colors until you achieve a smooth transition.
- Bubbling: Make sure to apply thin layers of gel to avoid air bubbles.
- Peeling or Lifting: Ensure that your base coat is properly cured and that the gel polish doesn’t touch the skin or cuticles.
Benefits of Gel Ombre Nails

There are a few benefits of gel ombre nails:
Longevity: Gel nails, which can last two weeks without chipping.
High-Gloss Appearance: Provide a highly glossy, lacquered effect to nails.
Personalization: One can choose through a myriad of ombre combinations with different colors.
Strength: Gel nails tend to be strong and not much more prone to breakage than ordinary polish.
Conclusion
Ombre nail art using a gel kit is the easiest yet classiest way to show creativity. Like all other things, it’s going to take patience, time, and a steady hand before you can do this next very interesting technique at home. Follow these steps, and you will have your beautiful nails ready for presentation!
FAQs
Q1: How long do gel ombre nails stay?
A1: Depending on maintenance, gel ombre nails can go between 1 and 2 weeks before chipping.
Q2: Can I do ombre nails with normal polish?
A2: Yes, you can use regular polish on the entire nail instead of gel, as it makes the application last longer and is more durable.
Q3: Can an ombre design be made without a sponge?
A3: It is possible but not as smooth as using a sponge. You could use a brush or other alternatives, but those generally require a little more effort.
Q4: What should I do if my gel nail lifts or peels?
A4: Make sure you prepare your nails very well and that every one of the layers is cured for the proper amount of time. Make sure the gel does not come in contact with your cuticles as well for better adhesion.
Q5: How can I prevent gel polish from catching air?
A5: Apply thin layers of gel, do not manipulate the polish too much, and let your nails dry completely before application.


