

Red Aspen Press-On Nails have gone viral within the beauty industry, providing a salon-quality manicure in mere minutes; however, would not adding a personal touch be the way to go? Luckily, customizing these nails at home requires only a few easy tools and techniques!
Why Customize Red Aspen Press-On Nails?
Customizing your press-on nails is truly an opportunity to express oneself; the benefit is that it is quite easy on the pocket. Also, due to its customizability, you can change designs anytime you like, which makes for a fun alternative that won’t cost a fortune.
Tools and Supplies Needed
Before you start, gather the following items:
- Nail file and buffer
- Nail glue or adhesive tabs
- Nail polish or gel polish
- Nail stickers, decals, and embellishments
- UV/LED lamp (if using gel polish)
- Top coat for sealing designs
Prepping Your Press-On Nails for Customization
- Clean the nails—remove any dust or oils.
- Shape the nails—Use a file to get your preferred shape.
- Buff lightly—This helps polish and designs stick better.
- Apply a base coat—this step adds durability.
Painting and Designing Your Press-On Nails
- Choose a high-quality polish for the best results.
- Apply thin coats and let each dry before adding another.
- Experiment with ombré, marble, or glitter effects for a unique look.
Adding Nail Art and Embellishments
- Use stickers and decals for a quick yet stylish design.
- Rhinestones and gems add an extra touch of glamour.
- Try nail stamping for intricate patterns without freehand painting.
Using Gel Polish for a Professional Finish
Gel polish offers a salon-like shine and lasts longer than regular polish. Simply apply in thin layers, cure under a UV/LED lamp, and finish with a top coat.
Customizing Nail Shape and Length
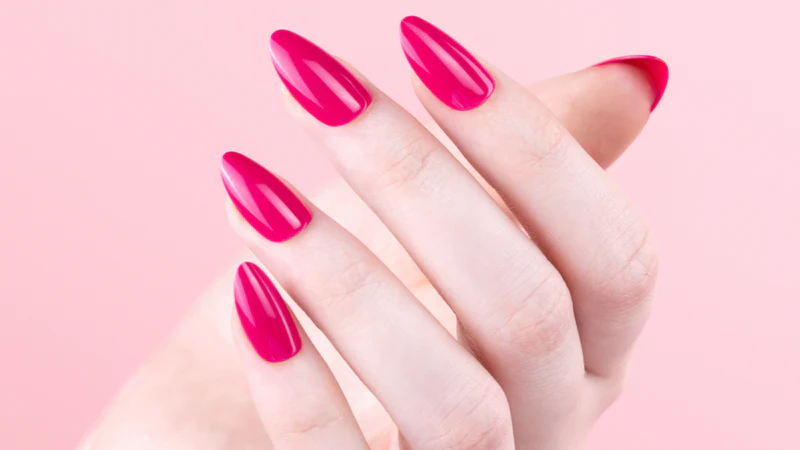
- Trim or file press-ons to achieve your desired shape.
- Popular shapes include almond, coffin, and stiletto.
Matte vs. Glossy Finish: Which One to Choose?
Dime-store color gloss sometimes brushes across the ornament, wiping the sheen from its face rather than enhancing it.
Creating Ombré and Gradient Effects
- Use a makeup sponge to blend two or more colors seamlessly.
- Seal with a top coat to prevent chipping.
Hand-Painted vs. Sticker Nail Art: Which One is Better?
- Stickers are quick and easy for beginners.
- Hand-painted designs offer a more customized and intricate look.
Sealing and Protecting Your Customized Nails
Always apply a quality top coat to lock in your design and prevent fading. Reapply every few days for extra longevity.
Application Tips for a Flawless Look
- Use adhesive tabs for temporary wear.
- Apply glue evenly to prevent lifting.
- Press down firmly for at least 30 seconds.
How to Remove and Reuse Your Customized Nails

- Soak in warm, soapy water to loosen the adhesive.
- Gently lift the edges with an orange stick.
- Store properly to reuse later.
Conclusion and Final Thoughts
Do-It-Yourself customizations on Red Aspen Press-On Nails are the most enjoyable, cost-efficient way of getting creative about nails. It could be a simple change of polish to nail art that could take hours; the options are endless. Gather your tools and start creating your own perfect manicure!
FAQs
1. Are Red Aspen Press-On Nails suitable for regular nail polish?
For sure! Regular nail polish will do, but make sure to finish it with a top coat for longevity.
2. How long do custom press-on nails last?
With correct application and maintenance, these can last for two weeks.
3. Are my custom press-on nails reusable?
Sure! If they are removed gently, then they can be reapplied again using nail glue or adhesive tabs.
4. What is the best method to remove glue from press-ons?
Warm water soaking and gentle buffing of leftover glue.
5. Can I combine different design ideas on one set?
Absolutely! Ombré, stickers, and rhinestones could all be combined to achieve a very unique result.