Eyelash curlers are common beautifying elements in many everyday beauty regimens, yet many of them are not being properly cleaned out. Regular maintenance makes the eyewear tool work better as well as giving your precious eyes that great protection from serious infection. You are now about to discover the importance of cleaning eyelash curlers, how often to clean them, and the best ways of maintaining them in good condition.
Why Cleaning Your Eyelash Curler Matters
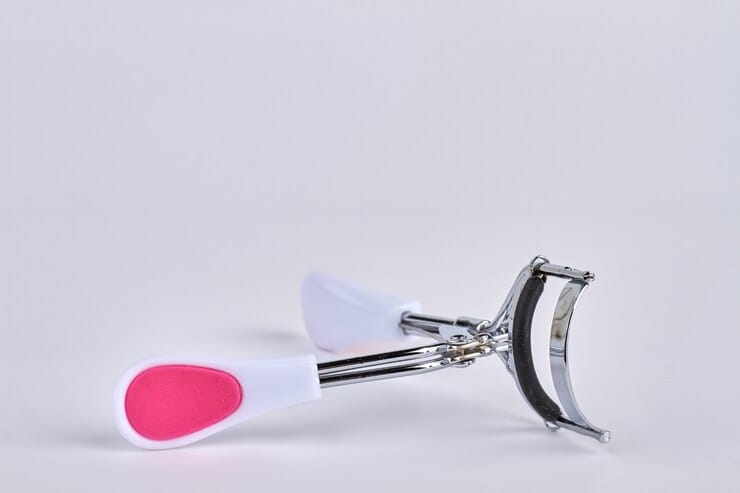
Over time, makeup residues, oily substances, and bacteria start accumulating on your eyelash curler. Such uncleanliness causes eye irritations, infections, or spoiled lashes. Instead, having a clean curler shall yield easy, clump-free curls and will prevent chances that bacteria reach your eyes.
How Often Should You Clean Your Eyelash Curler?
Friction pattern based on the use of curling appliances is from daily cleaning for daily users to a few days interval for occasional use, weekly cleaning at least once for once-in-a-while users, and deep cleaning at least once a month.
Tools and Materials Needed for Cleaning
- Mild soap or gentle makeup remover
- Cotton swabs or pads
- Rubbing alcohol
- Soft cloth or tissue
- Small brush (optional)
Step-by-Step Guide to Cleaning Your Eyelash Curler
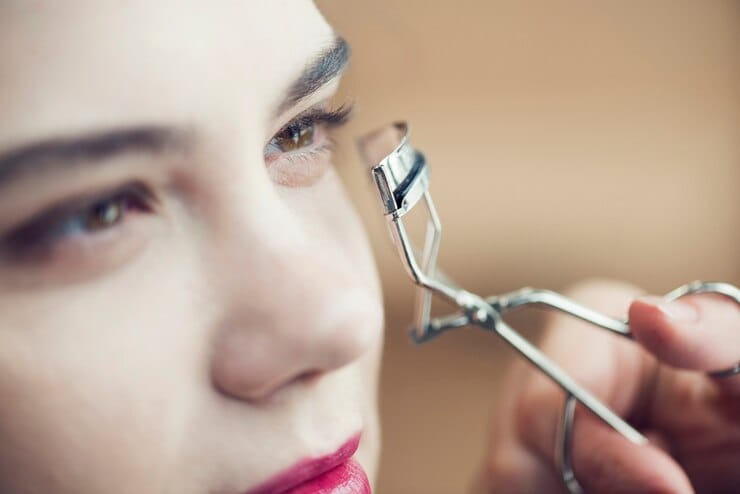
1. Remove Any Residue
Moisten a cotton pad or a cotton swab with a mild makeup remover. Wipe mascara and other debris off the curling surface and the curling pad.
2. Wash with Soap and Water
Blend some mild soap into warm water. Dip a very soft and moist cloth and then cleanse the curler easily, concentrating it on the clamp and hinges.
3. Disinfect the Curler
Mix some rubbing alcohol by dabbing it in a cotton pad, and wipe the full-length curler to easily be able to disinfect. Leave it to allow air to completely dry.
4. Replace the Rubber Pads
The rubber pads should be periodically checked for incident wear or tear. If there is evidence of cracking or worn-out condition, replace the pads.
Maintaining the Curler for Long-Term Use
1. Store Properly
Keep the curler in a clean, dry place to avoid dust and moisture buildup.
2. Avoid Excessive Force
Gently curl your lashes without applying too much pressure to prevent damage to both your lashes and the curler.
3. Replace the Curler When Needed
If the curler shows signs of rust or loose hinges, it’s time for a replacement.
Common Mistakes to Avoid
- Using Dirty Hands: Always clean your hands before using the curler.
- Skipping Disinfection: Wiping off residue isn’t enough; disinfection is crucial.
- Using Harsh Cleaners: Avoid using abrasive chemicals that can damage the curler.
- Neglecting Pad Replacement: Old pads can pinch lashes or cause uneven curls.
Benefits of a Clean Eyelash Curler
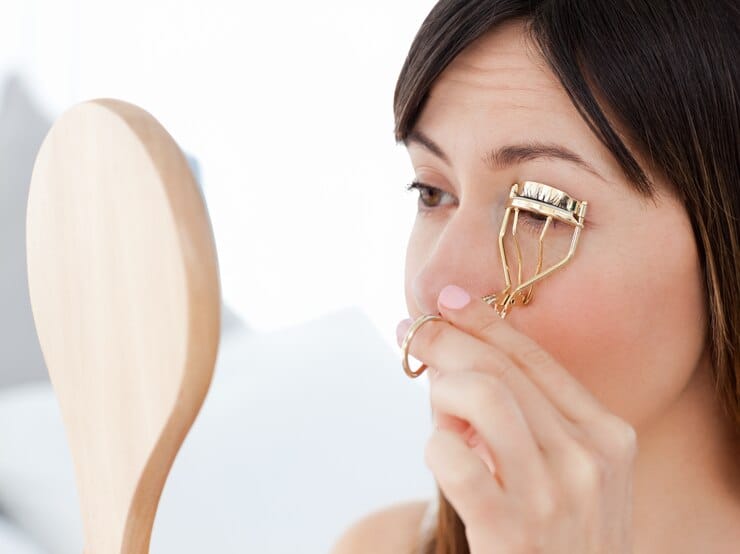
Strategic and meaningful hygiene decreases the chances of all eye infections.
Performance: Provides a more seamless curl and smoother consistency.
Durability: Prolongs the lifetime of the curler.
Conclusion
Keeping your eyelash curler clean and maintained isn’t as difficult as it makes out to be, yet it’s a really important beauty ritual. This allows your tool to be hygienic, and it would make your lashes look their best. Learning the right ways and using the right materials lets you enjoy curls that are completely free of worry, like any other, but safe for your eyes.
FAQs
Q1: How frequently do I have to replace the rubber pads of my eyelash curler?
A: Change them every 3-6 months or as needed; replace them when they are worn off.
Q2: Are makeup wipes good to use in cleaning the curler?
A: Yes, makeup wipes can scrub some residues off items but finish with spirit disinfection.
Q3: What should I do with a rusting eyelash curler?
If rust forms, then it’s time to replace it; you shouldn’t risk damaging your lashes or give chances to infection.
Q4: Can I share my eyelash curler with anybody?
No, and do not, because it continues to spread bacteria and hence increase the risk of getting eye infections.


