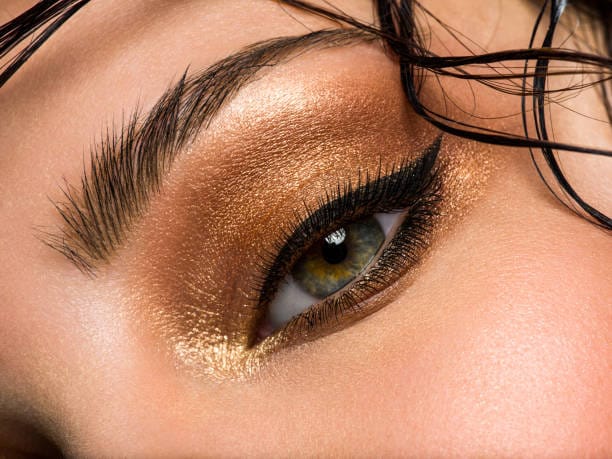
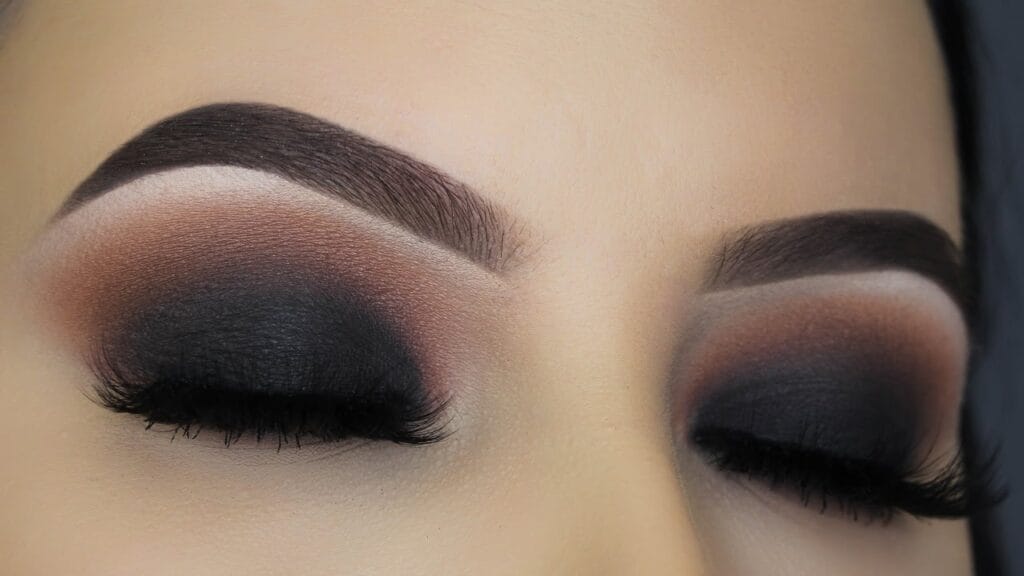
The allure of the classic smokey eye is undeniable. It’s a makeup look that exudes sophistication, mystery, and glamour, making it a favorite for countless women (and men!) around the world. Whether you’re heading to a special event, a night out with friends, or just want to add a touch of drama to your everyday look, mastering the smokey eye is a must. But how do you achieve this timeless style without looking like a raccoon? Let’s dive into the steps to create a flawless smokey eye.
What You’ll Need
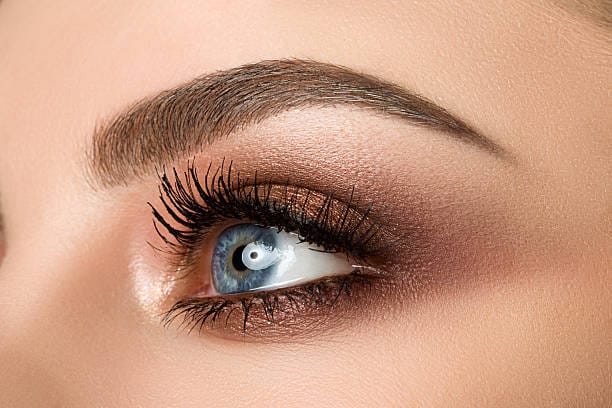
Before we start, let’s gather all the essentials. Here’s a list of tools and products you’ll need:
- Eyeshadow palette (with at least three shades: light, medium, and dark)
- Eyeliner (pencil or gel)
- Mascara
- Primer (for eyes)
- Brushes (a blending brush, a flat brush, and a smudge brush)
- Makeup remover and cotton swabs (for touch-ups)
Recommended brands include Urban Decay, MAC, and Maybelline, but feel free to use your favorites.
Preparing Your Canvas
A flawless, smokey eye starts with a well-prepared canvas. Here’s how to prepare your eyes:
- Cleanse and moisturize: Ensure your face is clean and moisturized. This helps the makeup adhere better and last longer.
- Apply Primer: Use an eyeshadow primer to create a smooth base. This step is crucial for preventing creasing and making your eyeshadow last all day.
Choosing the Right Colors
The classic smokey eye makupe typically involves shades of black, gray, and brown. However, you can experiment with different colors to suit your eye color and personal style. For a more modern twist, try navy blue, plum, or even green.
Step-by-Step Guide to Achieving the Smokey Eye Look

Step 1: Apply a base shade.
Start with a neutral base shade that matches your skin tone or is slightly lighter. Apply this all over your eyelids using a flat brush. This will help even out the color of your eyelid and provide a smooth surface for blending.
Step 2: Add Depth with a Darker Shade
Next, take a darker shade and apply it to the outer corner of your eye and into the crease. Use a blending brush to blend it into the base shade, creating a gradient effect. The key here is to blend well to avoid any harsh lines.
Step 3: Highlight the Brow Bone
Use a lighter shade to highlight your brow bone. Apply this just under your eyebrows and blend downwards to meet the darker shade. This adds dimension and makes your eyes appear larger.
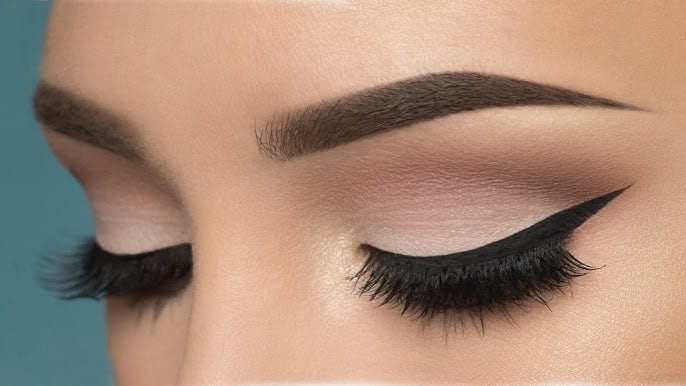
Step 4: Define with Eyeliner
Now, it’s time to define your eyes with eyeliner. You can use a pencil or gel liner. Apply it along your upper lash line, starting from the inner corner and working your way out. For a more dramatic look, you can also line your lower lash line. Use a smudge brush to soften the line and blend it into your eyeshadow.
Step 5: Blend, Blend, Blend
Blending is the most crucial step in achieving a seamless smokey eye. Use a clean blending brush to blend all the shades together, ensuring there are no harsh lines. This will give you that soft, diffused look that is characteristic of a smokey eye.
Step 6: Finishing Touches
Finish off your smokey eye with a coat (or two) of mascara. If you want to add extra drama, apply false lashes. And don’t forget to touch up any fallout with a bit of concealer.
Tips for Perfecting the Smokey Eye

Creating the perfect smokey eye takes practice, but here are some pro tips to help you along the way:
- Avoid over-applying: less is more. Start with a little product and build up as needed.
- Use the Right Brushes: Good brushes make a big difference in blending and application.
- Clean Up Mistakes: Keep makeup remover and cotton swabs handy for quick touch-ups.
Adapting the Look for Different Occasions
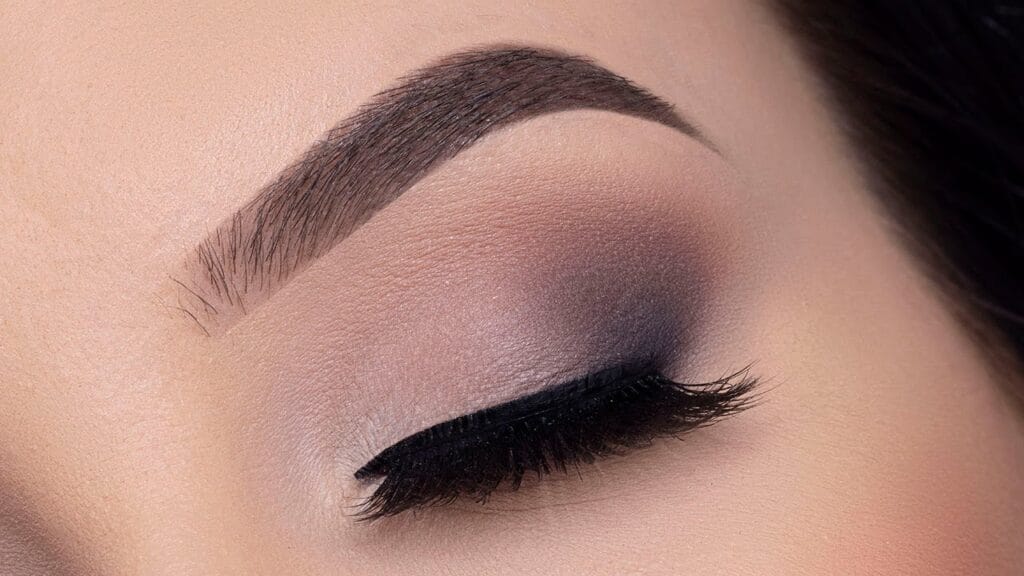
A smokey eye can be adapted for any occasion. For a daytime look, use lighter shades and keep the eyeliner minimal. For nighttime, go bold with darker shades and dramatic eyeliner. Adjusting the intensity allows you to wear the smokey eye look anytime, anywhere.
Maintenance and touch-ups

To keep your smokey eye looking fresh throughout the day, carry a small eyeshadow palette and a blending brush for touch-ups. Blotting papers can also help manage any excess oil that may cause your eyeshadows for Smokey Eye Makeup to crease.
Removing Your Smokey Eye
At the end of the day, it’s essential to remove your makeup properly to avoid irritation and breakouts. Use a gentle makeup remover, such as micellar water, and follow up with a facial cleanser. Be sure to remove all traces of makeup, especially around the delicate eye area.
Conclusion
Creating a classic smokey eye is a skill that anyone can master with a bit of practice. By following these steps and tips, you’ll be able to achieve a stunning look that’s perfect for any occasion. Remember, the key is blending and building up the color gradually. So grab your brushes, experiment with different shades, and have fun creating your own smokey eye masterpiece!
FAQs
How long does it take to create a smokey eye look?
It typically takes about 15–20 minutes to create a smokey eye, depending on your skill level and the complexity of the look.
Can I use any color for a smokey eye?
Absolutely! While the classic smokey eye uses shades of black and gray, you can experiment with any color that complements your skin tone and eye color.
What should I do if I make a mistake?
If you make a mistake, use a cotton swab dipped in makeup remover to clean up the area. You can also use concealer to correct any errors.
Is a smokey eye suitable for mature skin?
Yes, a smokey eye can be adapted for mature skin by using softer, more neutral shades and ensuring the eyeshadow is well-blended to avoid emphasizing fine lines.
How can I make my smoky eye last longer?
To make your smokey eye last longer, use a good-quality primer, set your eyeshadow with a setting spray, and avoid touching your eyes throughout the day.

