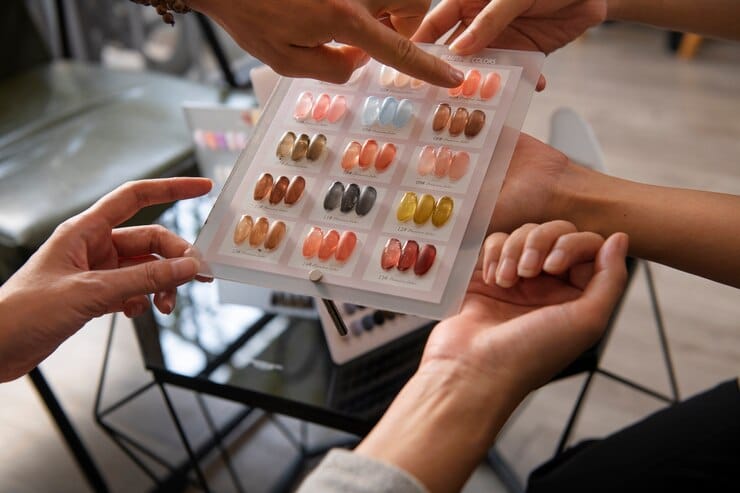
Everyone loves the look of a fresh, salon-quality manicure. But achieving that professional finish at home can seem like a daunting task. Fear not! With OPI nail polish and a few expert tips, you can achieve a flawless manicure that rivals any salon. OPI is renowned for its high-quality, long-lasting nail polishes in a rainbow of shades. Let’s dive into the best practices for applying OPI nail polish to get that perfect finish every time.
Preparation is key.

Gather your tools.
Before you start, make sure you have all your tools ready. You’ll need OPI nail polish, a base coat, a top coat, a nail file, a buffer, a cuticle pusher, nail clippers, cotton balls, and a nail polish remover. Having everything at hand will streamline the process and prevent smudging.
Nail Care Basics
Cleaning your nails
Start with clean nails. Remove any old polish using a gentle nail polish remover. Clean nails ensure that the new polish adheres well and lasts longer.
Trimming and Shaping
Trim your nails to your desired length and shape them using a nail file. Smooth out any rough edges to prevent snagging.
Cuticle Care
Pushing Back Cuticles
Soak your nails in warm water for a few minutes to soften the cuticles. Gently push them back using a cuticle pusher. This step helps to create a clean canvas for your polish.
Moisturizing
Apply a cuticle oil or a rich hand cream to keep your cuticles and nails hydrated. Healthy nails start with proper moisture.
The Perfect Base

Importance of a Base Coat
Never skip the base coat. It acts as a protective barrier between your nail and the polish, preventing staining and helping the color adhere better.
How to Apply the Base Coat Evenly
Apply a thin layer of base coat and let it dry completely. Ensure you cover the entire nail surface, including the edges, for maximum protection.
Choosing the Right OPI Shade
Factors to consider
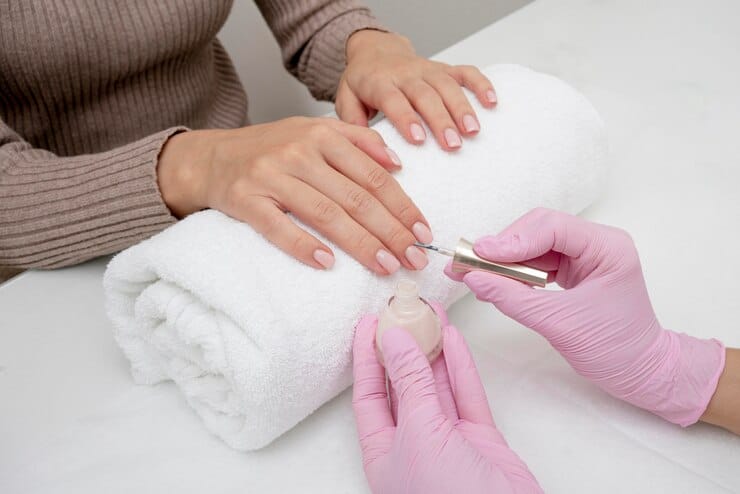
Choosing the right shade can depend on several factors, like your skin tone, the season, or the occasion.
Popular OPI shades
Some popular OPI shades include “Lincoln Park After Dark,” “Big Apple Red,” and “Bubble Bath.” These shades are classics and look great on everyone.
Application Techniques
Shake the bottle well.
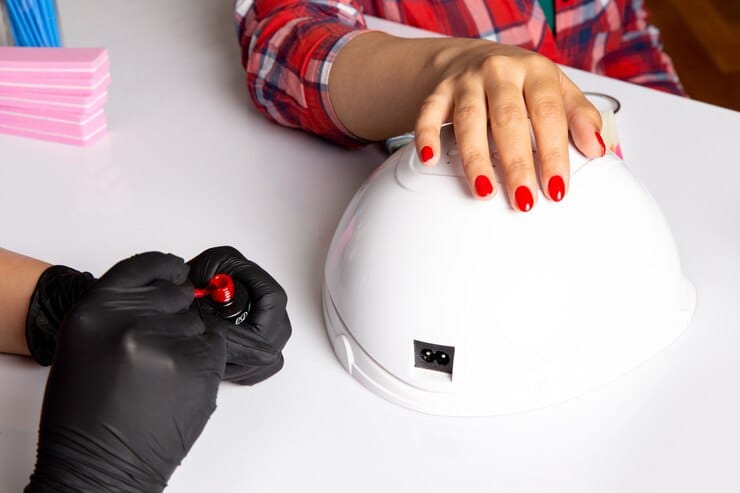
Before you start painting, shake the nail polish bottle well to mix the colors evenly. This prevents streaks and ensures a smooth application.
Proper brush handling
Hold the brush in the middle of the cap for better control. Wipe off excess polish on the side of the bottle to avoid overloading the brush.
The Three-Stroke Method
Starting with the center
Start with a stroke down the center of the nail. Place the brush near the cuticle and push it back gently before pulling it forward.
Filling in the sides
Next, apply strokes on either side of the center stroke. This method ensures even coverage without flooding the cuticles.
Building Layers
Importance of Thin Layers
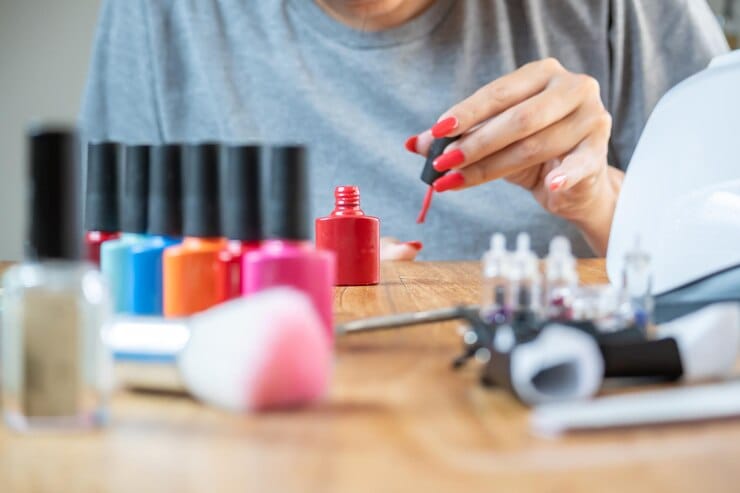
Apply thin layers of polish to avoid streaking and bubbles. Thick layers take longer to dry and are more prone to smudging.
Drying Time Between Coats
Allow each coat to dry completely before applying the next. This patience pays off with a smoother, more durable finish.
The Top Coat
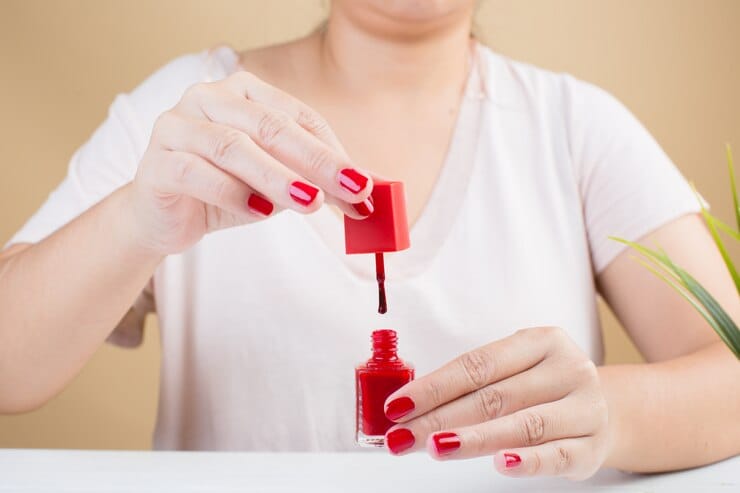
Sealing the color
A top coat seals your nail polish, locking in the color and providing a smooth, shiny finish.
Adding shine and protection
Top coats add a brilliant shine and help protect your manicure from chips and scratches. Reapply every few days for extended wear.
Tips for a Long-Lasting Finish
Apply the top coat to the edge of your nails to seal the tips and prevent premature chipping.
Nail art with OPI

Simple Nail Art Designs
Start with simple designs like polka dots, stripes, or accent nails if you’re new to nail art.
Tools you might need
You might need a dotting tool, striping tape, and a fine brush for more intricate designs.
Step-by-Step Guide
Begin with a base color and let it dry completely. Use your tools to create your design, allowing each layer to dry before adding more elements.
Drying your nails
Air Dry vs. Quick Dry Methods
Air drying is the most straightforward method, but quick-dry top coats or nail drying sprays can speed up the process.
Avoiding Smudges
Be mindful of your activities while your nails dry. Avoid touching anything for at least 20–30 minutes to prevent smudges.
Fixing Mistakes
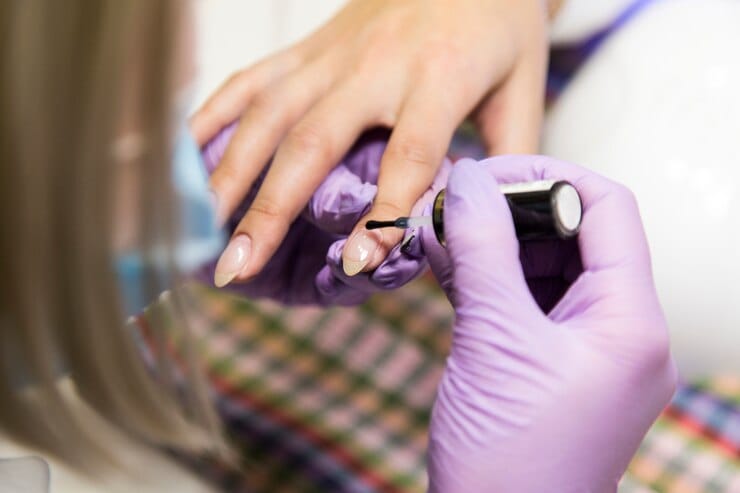
Quick Fixes for Smudges
If you smudge your nail, dip a small brush in polish remover and gently smooth out the area. Reapply polish if needed.
Correcting an Uneven Color
For uneven color, add another thin coat once the previous layer is completely dry. This should even out the finish.
Maintaining your manicure
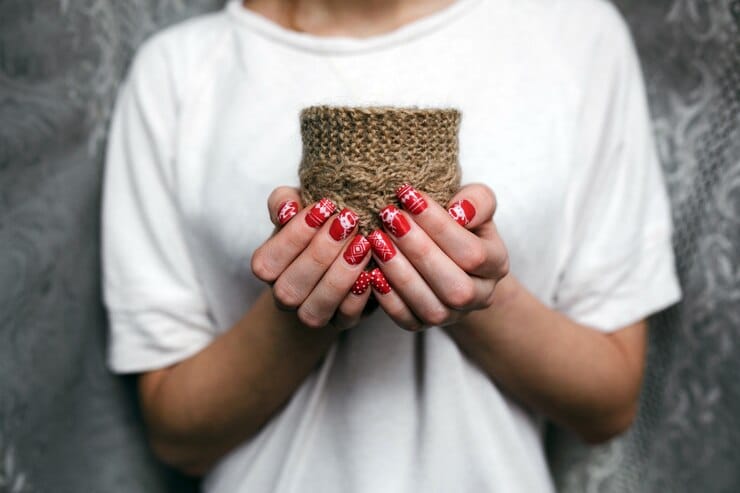
Daily Tips for Longevity
Avoid using your nails as tools, wear gloves while doing chores, and reapply top coat every few days to keep your manicure looking fresh.
Avoiding Chipping
Be gentle with your nails and try to avoid activities that put stress on them, like typing or opening cans.
Removing OPI nail polish
Best Practices for Removal
Use a gentle nail polish remover and soak a cotton ball. Place it on your nail and wrap it with foil for a few minutes. This method makes removal easier and less damaging.
Gentle Techniques to Avoid Damage
Avoid scraping or peeling off the polish, as this can damage your nails. Use nourishing nail treatments after removal to restore moisture.
OPI nail care products
Recommended Products for Nail Health
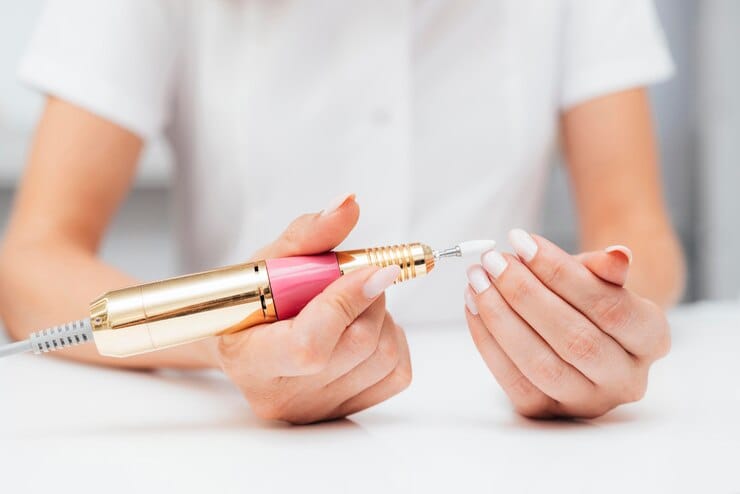
OPI offers a range of nail care products, including nail strengtheners, cuticle oils, and hand creams, to keep your nails healthy and strong.
Benefits of Using OPI Products
OPI products are formulated to be gentle yet effective, providing professional results while caring for your nails.
Common Mistakes to Avoid
Overloading the brush
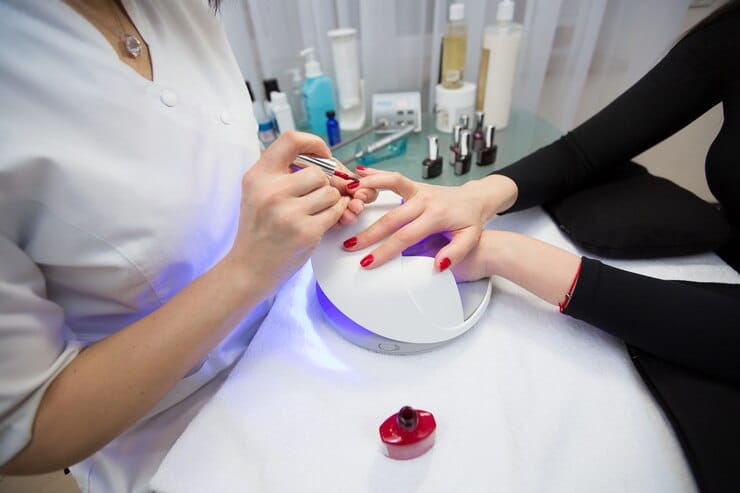
Too much polish on the brush can lead to thick, uneven layers that take forever to dry. Wipe off excess polish before applying.
Skipping the Base or Top Coat
Skipping these crucial steps can shorten the life of your manicure and lead to chipping and peeling.
Not Allowing Enough Drying Time
Patience is key. Rushing the drying process can result in smudges and uneven finishes. Give each layer the time it needs to set properly.
Conclusion
Achieving a salon-quality finish at home is totally doable with OPI nail polish and the right techniques. From proper preparation to applying thin, even layers and sealing it all with a top coat, these steps will ensure your manicure looks flawless and lasts longer. So, grab your favorite OPI shade and get ready to flaunt those stunning nails!
FAQs
How long does OPI nail polish last?
OPI nail polish can last up to a week or more with proper application and maintenance, including a base and top coat.
Can I use OPI nail polish on acrylic nails?
Yes, OPI nail polish works well on acrylic nails. Just make sure the acrylics are clean and smooth before application.
How do I prevent bubbles in my nail polish?
To prevent bubbles, apply thin layers and avoid shaking the bottle vigorously. Let each coat dry completely before applying the next.
Is OPI nail polish safe for kids?
OPI has a range of non-toxic, kid-friendly nail polishes. Always check the label and ensure it’s safe for young ones.
What makes OPI different from other brands?
OPI is known for its high-quality formula, extensive color range, and durability. Their products are often praised for their professional finish and long-lasting wear.

