One of the most popular makeup techniques, perhaps even every woman across the globe, knows how to do the smokey eye. It looks difficult, but there are some secrets on how to pull the smokey eye off perfectly. This tutorial is designed to dismantle the process for you piece by piece so that you can get this classic look on your own and be more than able to pull it off.
Understanding the Basic Smokey Eye
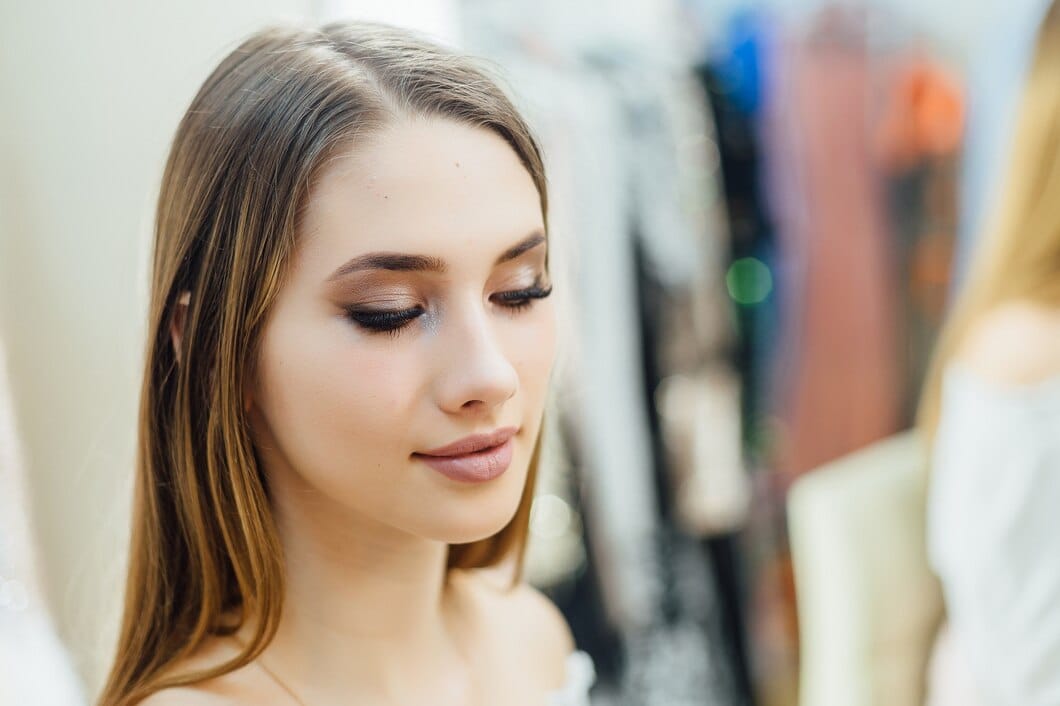
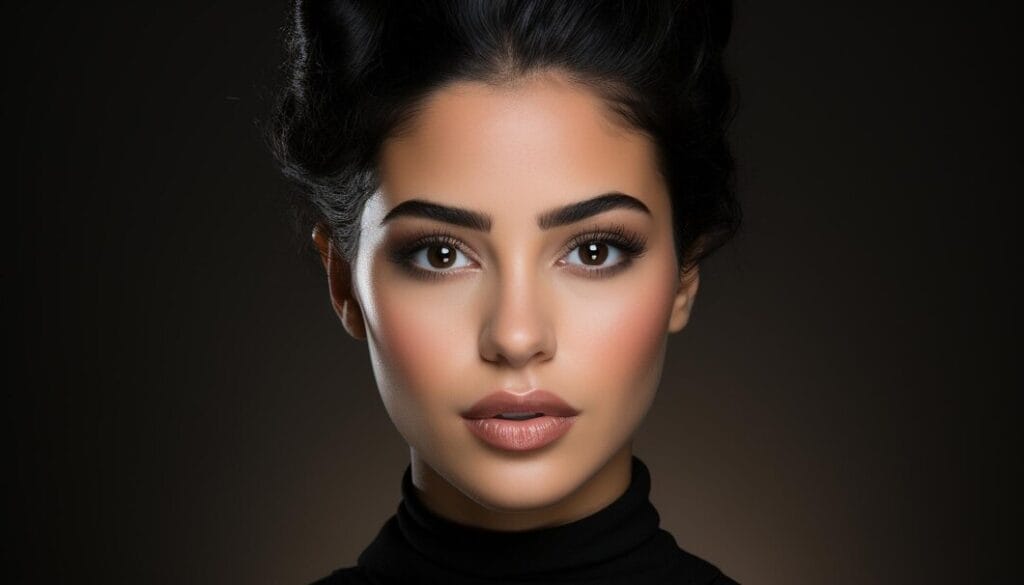
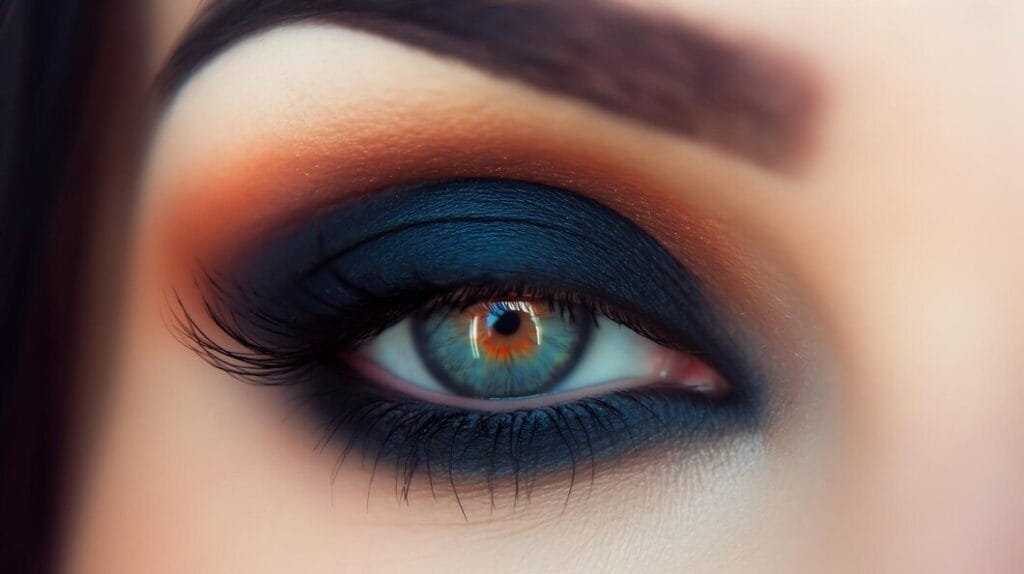
Smoky eye is an art of using dark, especially black eye shades on the eyelids and even on areas outside the eyelids, but at the same time lighter shades are used on the eyelid skin above the crease of the eyelids and the extreme inner eye corners. The last technique has also got its importance as it helps in creating a blending effect of different colors, which is employed in this type of make-up. Such a look is very versatile and can be suitable in most situations, the most apparent of these being the color and its intensity, which can be worn in both work and festive events.
Essential Tools and Products
Before starting your smokey eye, gather the following tools and products:
Tools:
- Eyeshadow brushes: There is a flat shader brush for eye shadow, a blending brush, and a small pencil brush for detailing.
- Eyeliner: black or dark brown gel pencil or liquid eyes water line pencil.
- Mascara: To enhance and elongate your eyelashes.
- Eye primer: To extend the longevity of your eye makeup whilst preventing any formation of eye shadow creases.
Products:
- Eyeshadow palette: Look for a palette with a mix of matte and shimmery shades, including at least one dark shade (black or deep brown) and a lighter shade for highlighting.
- Concealer: To clean up any fallout and define the eye shape.
- Setting spray: To lock your makeup in place.
Step-by-Step Tutorial of Smokey Eye
Step 1: Prepare Your Eyes
It is recommended starting with clean and moisturized eyelids to target the area of the skin that you want to treat. P.S. Before starting working with the eyeshadow, apply an eye primer, which will create a good ground for your eyeshadow to sit on.
Step 2: Apply a Base Color
Pick a flat eyeshadow brush and use it to apply a universal color to your eyelid. This shall serve as your background and assist in the mixing of other colors into it.
Step 3: Add Depth with Dark Shade
Out a dark eyeshadow (black or dark brown) on a smaller brush and apply it to the triangle at the outer corner of your eye. Applying it lightly and gradually helping the build of this color will help in avoiding complicating the look.
Step 4: Blend
After this, using a clean blending brush, blend the dark shadow down into the crease, smudging out any defined line. Be sure to mix it up toward the brow bone in order to avoid harsh lines of demarcation.
Step 5: Highlight
Use a highlight color on your brow bone and the inner corner of the eye in order to emphasize a larger eye area. And this shall help in increasing the smokey effect on the portrait.
Step 6: Define the Eyes
Apply your eyeliner to your upper lash line, and you can line it with a slight angle at the corner. You can also put some dark shadow used earlier underneath the lower lash line for a more dramatic look.
Step 7: Finish with Mascara
Finally, use lots of mascara on your upper and lower eyelids to come up with the desired look you want.
Tips for Different Eye Shapes
- Almond Eyes: Almost any smokey eye style works well. Focus on blending for a seamless look.
- Hooded Eyes: Apply darker shades above the crease to create the illusion of depth. Make sure to blend upwards.
- Round Eyes: Use darker shades on the outer corners and lighter shades on the inner corners to elongate the eye shape.
- Monolid Eyes: Apply dark shadow across the lid and blend upwards. Use eyeliner to define the shape.
Common Mistakes to Avoid in Smokey Eye
- Overloading Product: Start with a small amount of product and build up gradually to avoid a heavy look.
- Neglecting Blending: Blending is key to a successful smokey eye. Spend time on this step to avoid harsh lines.
- Ignoring Eye Shape: Tailor the look to suit your eye shape for the most flattering results.
- Skipping Primer: Always use an eye primer to prevent creasing and enhance color payoff.
Make It Your Own Smokey Eye
Regarding smokey eyes, it is okay to use other colors and sheen levels to add onto the conventional ones. One can use purples, blues, or metallic to come up with a new type of design. You should not hesitate to move the sliders depending on the level of coverage you desire—casual or special occasions.
Conclusion
Achieving smokey eye looks is one of the most delightful things one can do. In no time, you will be able to conquer the skills and cultivate your own style. Do not rush; do your blending, and most importantly, have fun in the process!
FAQs
How to eliminate smokey eye appearance,
Use a gentle makeup remover or micellar water using cotton and wipe away eyeshadow and liner then use your regular cleansing routine.
Do I have to use only neutral eyeshadows for a smokey eye?
Absolutely! You can play around with multiple shades to get your creative twist on the classic look.
Can you ever really wear a smokey eye during the day?
Always. Smokey eyes can be created with softer shades applied lightly and somewhat subtly.


